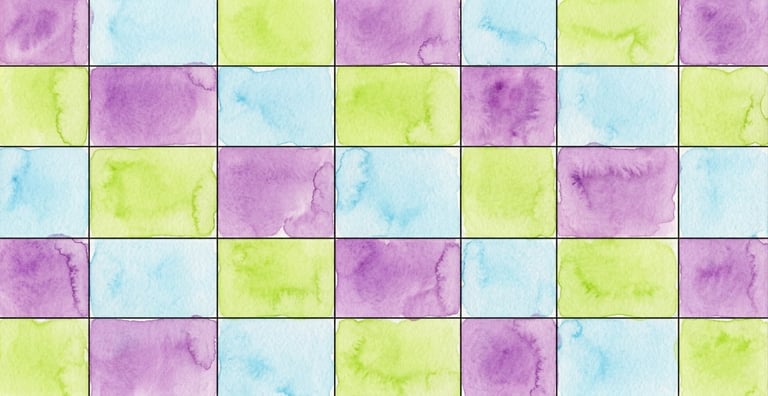
Squares
Materials: pencil, ruler, sketchbook, watercolor paints, paintbrush, water jar, paper towel, eraser


Step 1: Lay Down the Vertical Lines
Take a sharpened graphite pencil and a ruler. Across your entire page, lightly draw a series of parallel vertical lines. Remember to press lightly, as we want these lines to disappear later.
Step 2: Form the Squares
With your ruler still in hand, turn your page (or just realign your ruler) and draw a second set of parallel lines, this time running horizontally across the page.
Step 3: Add the Watercolor
Select your favorite watercolor paints and a clean brush. Dip the brush into the water, pick up some pigment, and carefully apply color to individual squares within your pencil grid. If you don't have watercolors on hand, acrylic paint diluted in water works just as well for this step.
Step 4: Erase the Pencil Grid
Once the watercolor has dried completely (this is essential to avoid tearing your paper!), take a soft eraser. Gently, and with even pressure, rub over all of the pencil grid lines, both horizontal and vertical. The soft, colorful watercolor squares will remain, now defined only by their own vibrant edges, giving the piece a finished, organic look.